Introduction to Halloween Drawing
Halloween drawing is a creative way to celebrate the season, blending artistry with spooky themes. Whether sketching a grinning pumpkin or a ghostly figure, halloween drawing invites artists of all ages to express their imagination while embracing the eerie charm of October. From simple outlines to intricate details, these drawings transform blank paper into haunted houses, witches, or candy corn creations.
The beauty of halloween drawing lies in its accessibility: beginners can start with basic shapes (like triangles for witch hats), while advanced artists experiment with shading and textures for realistic monsters. Supplies are minimal—pencils, markers, or digital tools—making it a budget-friendly hobby.
This guide explores how to master popular characters, choose the right materials, and even enter contests to showcase your work. Whether you’re a parent seeking family activities or an artist looking to refine skills, halloween drawing offers endless inspiration to bring the spooky season to life.
Halloween Drawing for Kids: Simple Projects
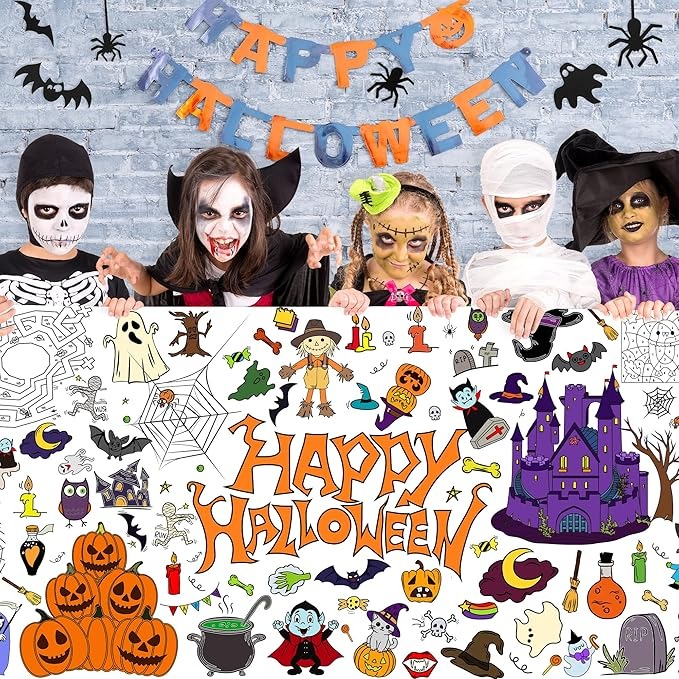
Halloween drawing is a fun, educational activity for children to explore creativity while celebrating the season. Here are five easy projects even young artists can master:
1. Pumpkin Faces
- Steps:
- Draw a large circle for the pumpkin.
- Add triangular eyes and a zigzag “smile.”
- Optional: Add a stem and texture lines.
- Educational Bonus: Teaches shapes and facial expression basics.
2. Witch Hats
- Steps:
- Sketch a triangle on top of a circle (the head).
- Add a crescent moon on the hat.
- Decorate with stars or spooky patterns.
- Fun Twist: Use black construction paper for a 3D pop-up effect.
3. Ghost Balloons
- Steps:
- Draw cloud-like shapes for ghost bodies.
- Add two dots for eyes and a string.
- Color with white crayons on black paper for contrast.
4. Candy Corn
- Steps:
- Trace three triangles overlapping in orange, yellow, and white.
- Add glitter for a shiny finish.
- Tip: Create a candy corn collage for classroom walls.
5. Zombie Hands
- Steps:
- Draw lumpy fingers with torn edges.
- Add green skin tones and stitches.
- Place them reaching out of a desk for a playful scare!
Tips for Success:
- Use large paper to avoid frustration.
- Provide templates for tracing.
- Encourage personalization.
These projects boost fine motor skills and spark imagination—all while keeping kids engaged in the Halloween spirit.
Step-by-Step Tutorials for Popular Characters
Mastering Halloween’s iconic characters starts with foundational shapes and attention to detail. Here’s how to draw three spooky favorites:
1. Witch
Steps:
- Base: Draw a tall, thin triangle for the hat.
- Face: Add a round face beneath, with narrowed eyes and a crooked smile.
- Clothing: Sketch a flowing robe with pointed sleeves.
- Details: Add a cat, cauldron, or broomstick. Use dark colors for the hat and robe, and pale skin for the face.
2. Zombie
Steps:
- Head: Draw an oval with a lopsided jaw.
- Eyes: Place drooping circles with dark shadows underneath.
- Body: Add a torn shirt and uneven limbs.
- Key Detail: Use jagged lines for stitches and greenish tones for skin.
3. Vampire Bat
Steps:
- Body: Sketch a teardrop shape for the bat’s body.
- Wings: Extend curved lines from the body, overlapping slightly.
- Face: Add sharp teeth and glowing red eyes.
- Finishing Touch: Shade wings with dark gradients for depth.
Pro Tips:
- Proportions: Keep the head larger for cartoonish characters.
- Shading: Use cross-hatching for texture on zombie skin or bat wings.
- Color Palette: Stick to black, orange, and green for a cohesive Halloween vibe.
These tutorials build confidence through gradual complexity, perfect for artists ready to move beyond basics.
Essential Supplies for Halloween Drawing
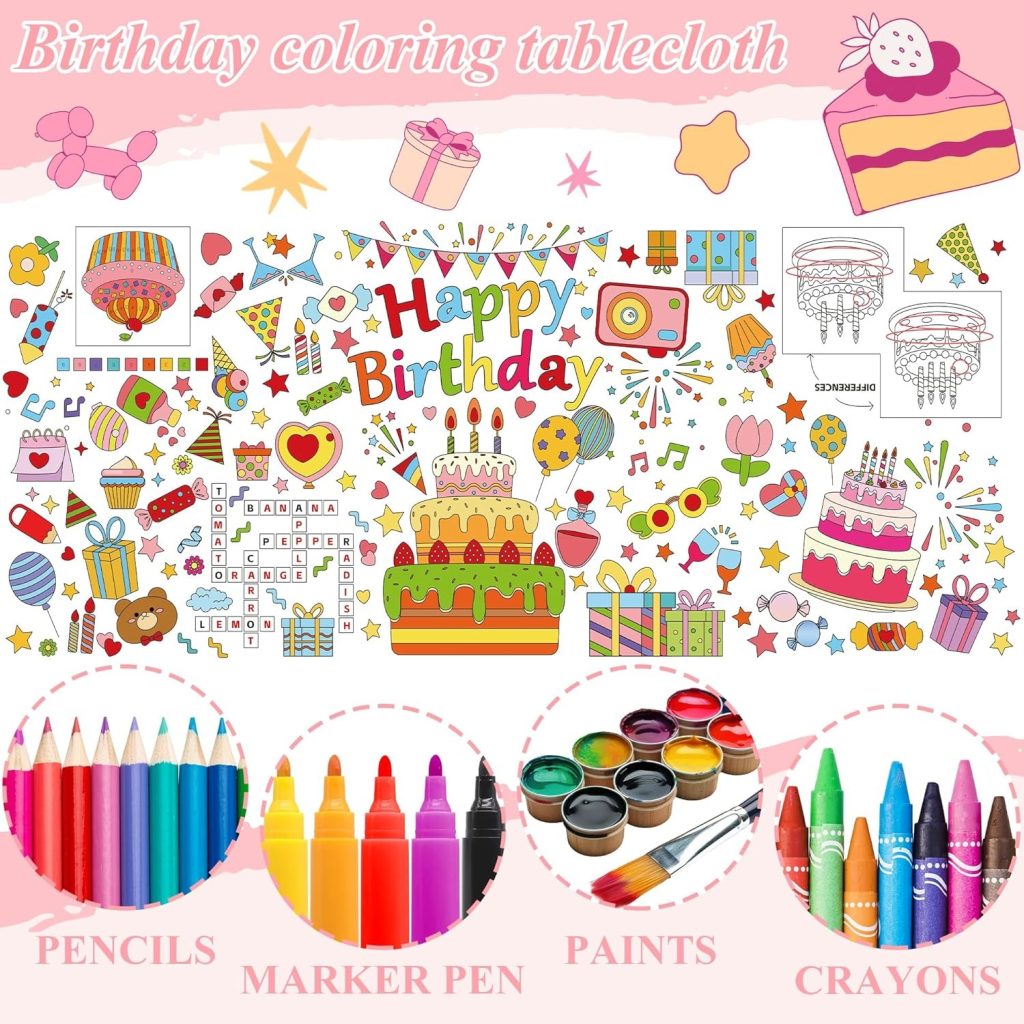
Creating Halloween art requires the right tools to bring your spooky visions to life. Here’s a curated list of must-haves:
1. Sketching Basics
- Pencils: Start with a 2B pencil for sketching outlines and a 6H for fine details.
- Erasers: A kneaded eraser for light corrections and a vinyl eraser for tougher marks.
- Paper: Use thick, textured paper (90gsm+) to prevent bleed-through, especially for watercolors.
2. Coloring Supplies
- Markers: Prismacolor or Copic markers for vibrant, blendable colors (ideal for witches’ cloaks or vampire fangs).
- Watercolors: Create eerie landscapes or glowing jack-o’-lanterns with liquid watercolors.
- Colored Pencils: Derwent or Prismacolor sets for detailed shading on ghosts or zombie skin.
3. Digital Tools
- Drawing Tablet: Wacom or XP-Pen for digital artists.
- Software: Adobe Illustrator (for vectors) or Procreate (for iPad sketches).
4. Special Effects
- Gel Pens: Use metallic or neon pens for glowing eyes or spiderwebs.
- Texture Tools: Crumpled tissue paper for rough pumpkin skin or Q-tips for subtle shading.
- Stencils/Templates: Pre-cut shapes for consistent outlines.
Budget-Friendly Options
- Crayons & Chalk Pastels: Great for kids’ Halloween drawings.
- Recycled Materials: Use newspaper for sketching or cardboard for 3D papercraft additions.
Pro Tip:
Organize supplies in a themed box to stay inspired!
Adding Details to Your Halloween Art
Elevate your Halloween art from basic sketches to hauntingly vivid scenes by mastering these detail-adding techniques:
1. Shadows & Highlights
- Depth in Pumpkins: Add dark shading under the pumpkin’s “lid” and along creases. Use white gel pens for candlelight glows inside.
- Zombie Skin: Contrast pale skin with deep shadows under eyes and jawlines to emphasize decay.
2. Texture Mastery
- Witch’s Robe: Layer diagonal lines for fabric folds, then add cross-hatching for rough texture.
- Spiderwebs: Use a fine liner pen to draw concentric circles, then add radial lines for 3D effects.
3. Color Contrasts
- Spooky Atmosphere: Paint dark backgrounds (e.g., midnight blue) to make glowing elements pop (e.g., orange ghosts).
- Vampire Fangs: Contrast bright white teeth against deep purple lips.
4. Background Elements
- Haunted Houses: Add cracked windows, twisted trees, or fog using light gray washes.
- Moonlight: Sketch a crescent moon and radiate soft lines to mimic beams illuminating a graveyard.
5. Dynamic Details
- Movement: Draw swirling bats with trailing lines or drifting ghostly smoke using smudged charcoal.
- Emotional Expressions: Add wrinkles around a witch’s squinting eyes or a zombie’s slack jaw.
Pro Tips:
- Reference Real Life: Study textures like tree bark or fabric to add authenticity.
- Layering: Use thin markers first, then add details with thicker pens for dimension.
These techniques transform simple outlines into immersive Halloween scenes that captivate viewers.
Advanced Techniques for Realistic Drawings
Elevate your Halloween art to lifelike masterpieces with these professional techniques:
1. Perspective & Depth
- Haunted House: Use linear perspective—draw converging lines to create a spooky, receding pathway. Add a foreground tombstone to emphasize distance.
- Ghosts: Layer translucent figures by sketching a faint outline behind a solid form, mimicking ethereal transparency.
2. Material Realism
- Zombie Skin: Blend uneven skin tones (pale greens and grays) with charcoal for a decayed look. Add cracks using fine lines and cross-hatching.
- Witch’s Robe: Use wet-on-wet watercolor techniques for fabric folds, then outline with ink for definition.
3. Chiaroscuro Lighting
- Candlelit Pumpkin: Contrast deep shadows (black ink) with bright highlights (white gouache) to mimic flickering light.
- Moonlit Graveyard: Paint silhouetted trees against a gradient sky (dark blue at the horizon, lighter near the moon).
4. Dynamic Composition
- Action Lines: Draw a ghost floating mid-swoop by adding trailing wisps of smoke.
- Rule of Thirds: Position a witch’s cauldron off-center to create visual tension.
5. Color Theory
- Spooky Palette: Use complementary colors to make elements pop. Add muted greens for eerie undertones.
- Atmospheric Haze: Layer diluted sepia washes in the background to mimic misty distance.
Pro Tips:
- Reference Photos: Study textures like rusted metal (for cauldrons) or cracked stone (for tombstones).
- Layering: Build up details gradually—start with a pencil sketch, then add ink, watercolor, and finally highlights.
These techniques turn Halloween art into hauntingly realistic scenes that tell a story.
Showcasing Your Halloween Art
Your Halloween art deserves to be seen! Here’s how to share your creations with the world:
1. Social Media Showcases
- Instagram/TikTok:
- Use hashtags like #HalloweenArt or #SpookyDrawing.
- Post time-lapse videos of your drawing process.
- Pinterest: Create boards like “Spooky Halloween Inspiration” to attract followers.
2. Competitions & Exhibitions
- Local Contests: Enter school or community art shows for recognition (e.g., “Best Pumpkin Drawing”).
- Online Galleries: Submit to platforms like Etsy or Redbubble to sell prints.
3. Physical Displays
- Home Decor: Frame your art for a Halloween-themed living space or gift to friends.
- Merchandise: Turn designs into T-shirts, mugs, or greeting cards via print-on-demand sites (e.g., Printful).
4. Collaborative Projects
- Virtual Gallery Hops: Partner with other artists for online exhibitions.
- Workshops: Host a “Draw with Me” livestream to teach others your techniques.
Pro Tips:
- Storytelling: Share the inspiration behind your art.
- SEO Optimization: Use keywords like “haunted house drawing” in descriptions for better search visibility.
Your Halloween art isn’t just a hobby—it’s a way to connect with others and celebrate creativity.
Conclusion and FAQs
Conclusion
Halloween drawing is more than a seasonal hobby—it’s a creative outlet that blends artistry with storytelling. Whether you’re a beginner refining basic shapes or a pro mastering chiaroscuro, these techniques and tools ensure your art shines. Now it’s time to pick up your pencils and let your imagination run wild!
Frequently Asked Questions
Q: What’s the best way to start Halloween drawing?
A: Begin with simple shapes (e.g., pumpkins) and use our step-by-step tutorials for guidance.
Q: Can I use colored pencils for realistic art?
A: Yes! Layer colors and use light pressure for subtle shading.
Q: How do I enter Halloween art contests?
A: Check local libraries or online platforms like Etsy for seasonal competitions.
Q: Are digital tools better than traditional ones?
A: Both have pros—digital offers undo buttons, while traditional art provides tactile texture. Choose what you’re comfortable with!
Q: Can I sell my Halloween drawings?
A: Absolutely! Print on-demand sites let you turn art into merchandise.
